
Quick how to guide on VMware Update Manager that is now bundled into vCenter 6.5.
To upload your update.vib file click on the Update Manager Tab and select to “Go to Admin View”

Click on the Manage Tab and select Patch Repository button
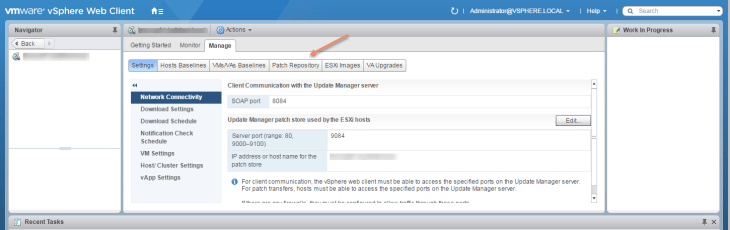
Click on the import patches
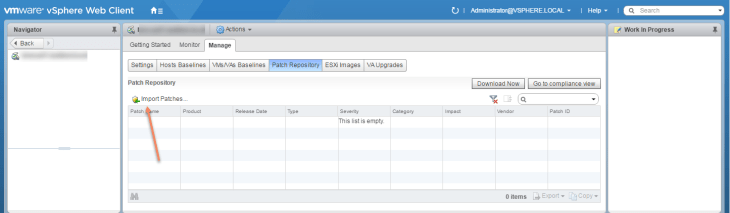
And Select your Zip File.

Once the upload is complete. Click Finish.

We can see a summary of all VIBs in the current database.

Next, we want to create a new baseline for the new VIB. Select Host Baseline button and click on the plus sign to add a new Baseline.

Give the New Baseline a meaningful name and select Host Patch

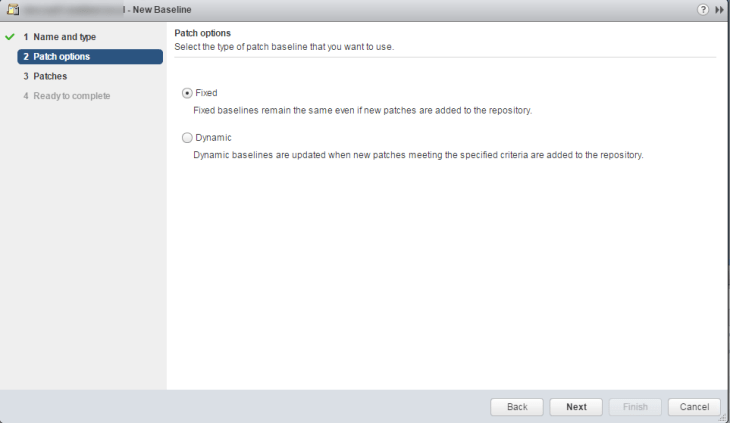
Click next and select “Fixed” option.
Choose the VIB you previously uploaded and click next.
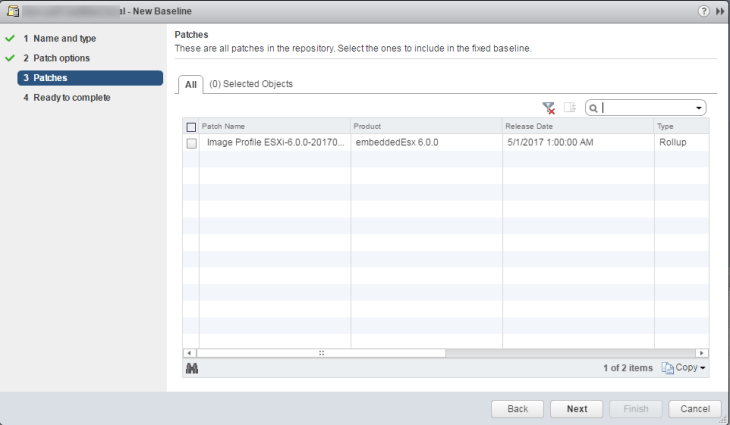
Next and Finish.

Once we finish we can see the new Custom Baseline.

Switch back to compliance view where we can see our production cluster. From this pane, we can either attach this baseline to a Cluster or to a single host. Select either Host or Cluster from the Navigator Pane and click on the Attach Baseline button.

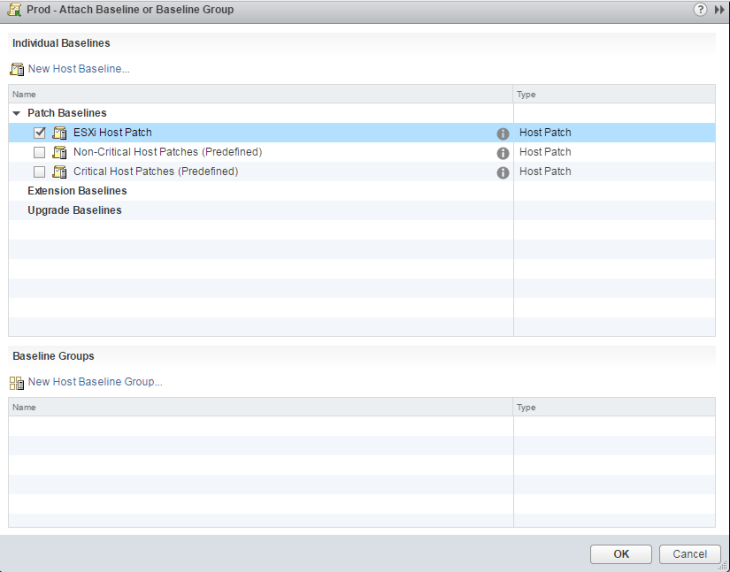
Select your newly created baseline
Click OK and Scan for Updates.

Select Patches and Extensions. Click Okay.

Once complete the scan will show any unpatched hosts. Here all three of my hosts in the cluster need to be upgraded.

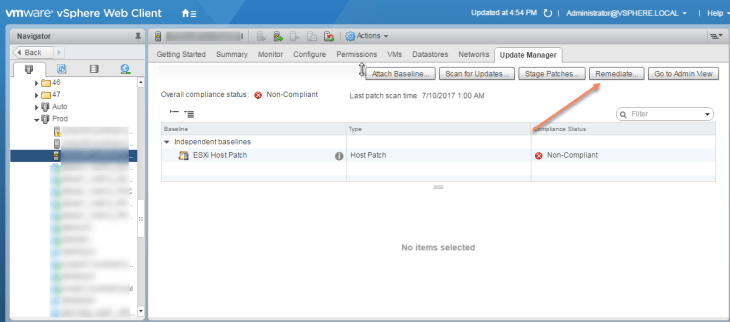
I put one of my hosts into Maintenance mode and selected Remediate
Within the Remediate Wizard. Select your baseline. Click Next

Select Host or Cluster that you want to remediate.

Select the VIBs in your Baseline. Note if you have multiple VIBs in one baseline which is possible you can select or deselect as required.

Click Next and from here we can set a patch schedule. By not selecting anything we are setting this upgrade as immediate.

Host Remediation Options. Here we can change VM power setting if they are still running on the host. Personally, I will always manually move off any live VMs and put the host in maintenance mode prior to starting this wizard.

Here we can Disable PDM, FT or enable parallel remediation.

Click next and Finish to begin your host patching.

