With the release of vSphere 6.5 I thought it would be a good idea to upgrading my test labs VCSA and External PSCs to the latest and greatest. To start it has been known for a while that this is not an in place upgrade but rather a migration so you will need an interim IP address in your management subnet during the install process. Phase 1 -The workflow which is a two phase. The process will deploy a new PSC or VCSA depending on which component you are upgrading and assign it a temp IP address that you configure. Phase 2 – Once deployed it will migrate the data from the source system, then shut down the old appliance and the IP address of the old VM will be configured on the newly deployed appliance which now has the migrated data . The Migrated data will then be imported.
Also I think it is worth mentioning that the vSphere web integration client is no longer needed to deploy/upgrade vCenter or PSCs with the new release as the installer is in .exe format.
Mount the .iso to a VM that has access to your vCenter and PSC. The installer.exe is located in D:\vcsa-ui-installer\win32. Where D:\ is your virtual cd-rom drive.

Once you launch the install.exe file you will be greeted with this window. Select Upgrade

1. Introduction. This screen give you a good overview of the overall process. Click Next

2. End user license agreement. Accept the EULA Click Next.
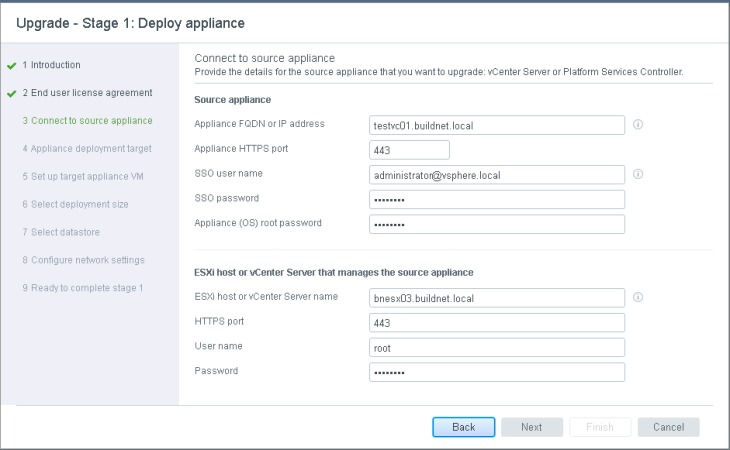
3.Connect to source appliance. Fill in the detail for the source (existing) appliance. The install process will autodetect weather it is a PSC or VCSA. I upgraded my primary PSC first. Once you are satisfied you have the correct details Click Next.

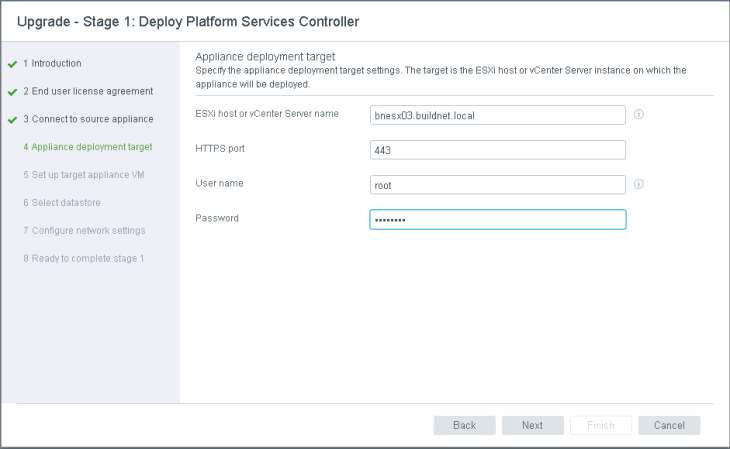
4. Appliance deployment target. Set the ESXi or VC instance that you want your new appliance to be deployed on. To rule out any possible network related issues I deployed to the same host that my source appliance was currently residing in. Click Next
5. Set up target appliance VM. Fill in the virtual machine name and password for the new appliance that will deployed. Note the name you configure here is the name that will be represented the VM in vCenter not the hostname configured on the appliance . So in saying that it might be a good idea to rename your source appliance VM name prior to the upgrade procedure so that your VM naming is nice and consistent when you view it from the VMware Client once you are finished the upgrade . Fill in the details Click Next

6. Select datastore. Once you have selected your datastore. Click Next
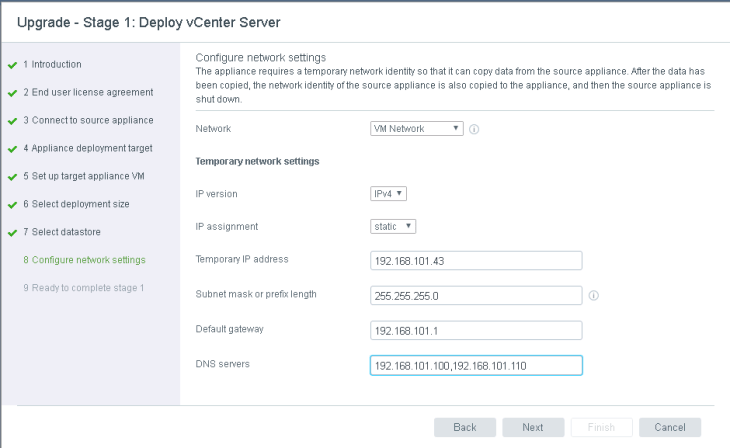
7. Configure network settings. This is where you assign the temp IP address to the new Appliance. Click next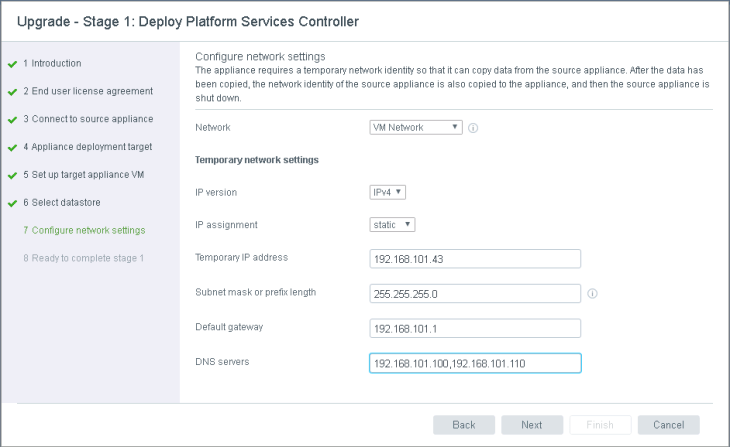
8 Ready to complete Stage 1. Review your settings and Click Next

And we are off!


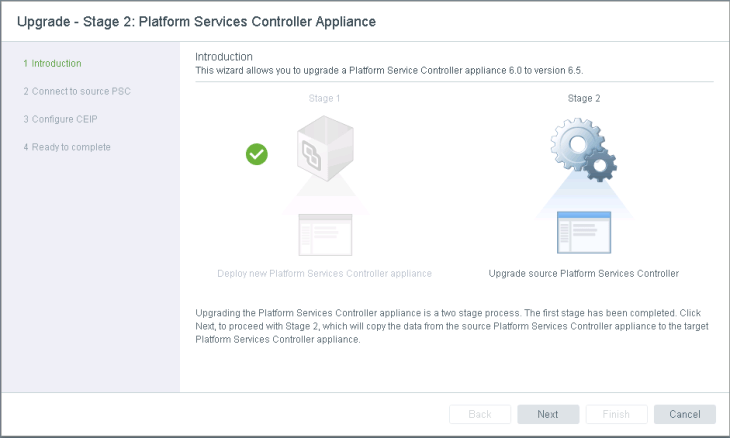
Stage 2.
1 Introduction. You have successfully completed Phase 1 and your new PSC is deployed albeit with a temp IP address. Click Next
2 Connect to Source. System Settings are validated. Any Issue will be flagged. Luckily I had none. Click Next
3 Configure CEIP. Opt In or out of the Customer Experience Program. Click Next
4 Ready to Complete. Review your setting. Make sure you have backed up your PSC and data. Tick the required checkbox and Click Next.

Once you click Next you will be see this Warning. Click OK
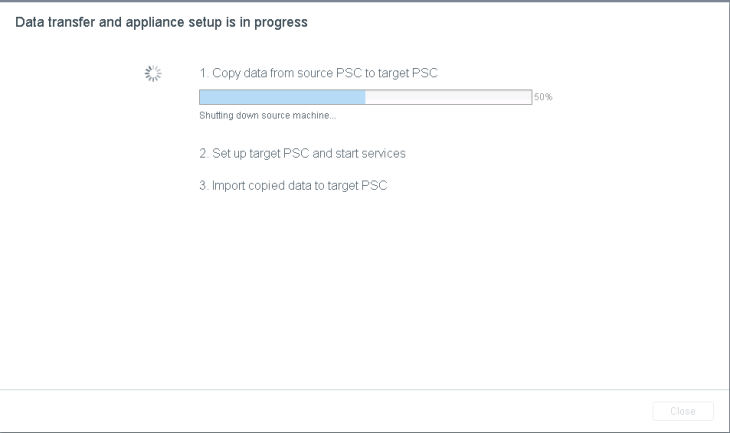
Data copying from source to the target PSC

Source Appliance being Power Down
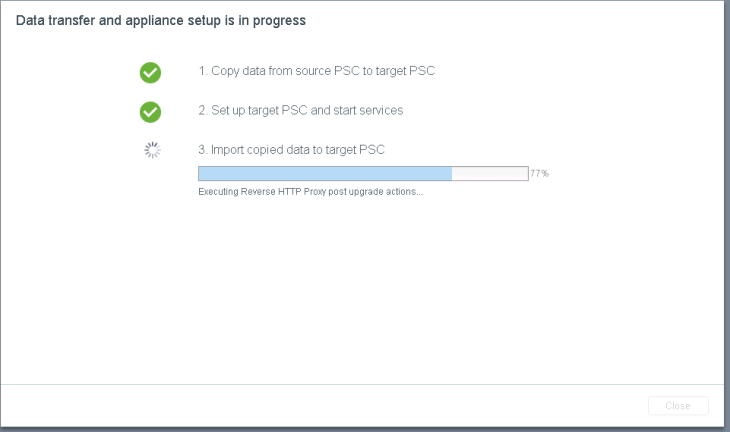
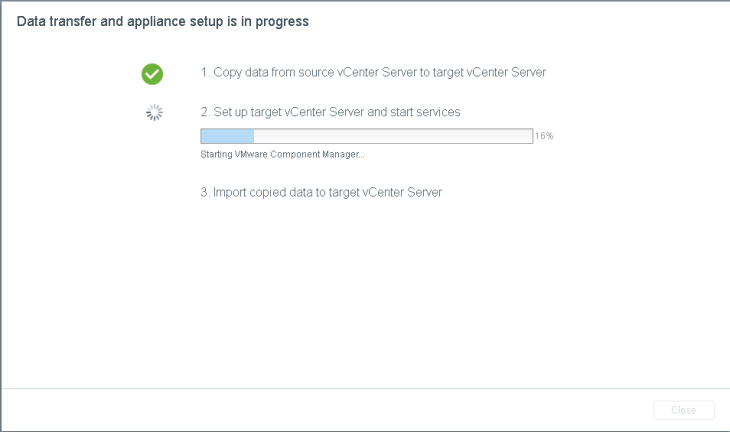
Set up of target PSC and service started and copy of imported data are underway.
Completion

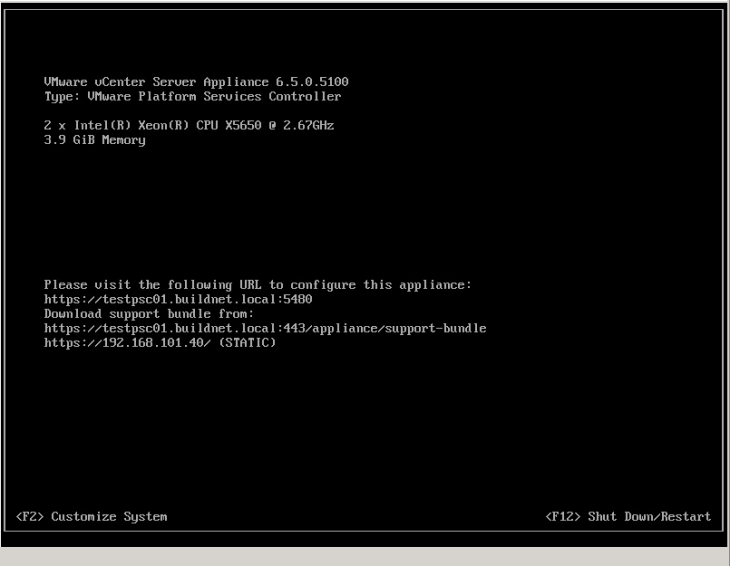
Capture from the DCUI post deployment.
I Repeated the Step for the Secondary PSC. No difference in the procedure. Once I completed the secondary PSC I reviewed the health of the 3 nodes in the web client.

VCSA
1 Introduction. As above
2 End user License agreement. As above
3 Connect source appliance . Fill in the detail for the source (existing) appliance. In this instance we are upgrading the vCenter appliance.
4 Appliance deployment target. Set the ESXi or VC instance that you want your new appliance to be deployed on. Click Next
5 Set up target appliance VM. Fill in the virtual machine name and password for the new appliance that will deployed same caveat apply as above . Click Next

6 Select deployment size. You can change deployment size if you wish on upgrade . David Ring recently did an excellent post on VCSA Sizing. Note these Figures are for 6.0 but I am sure and update is just around the corner.

7 Select datastore. Once you have selected your Datastore. Click Next
8 Configure network settings. Similar to the PSC upgrade this is a temporary IP address that is given to the newly deploy appliance initially
9 Ready to complete stage 1.

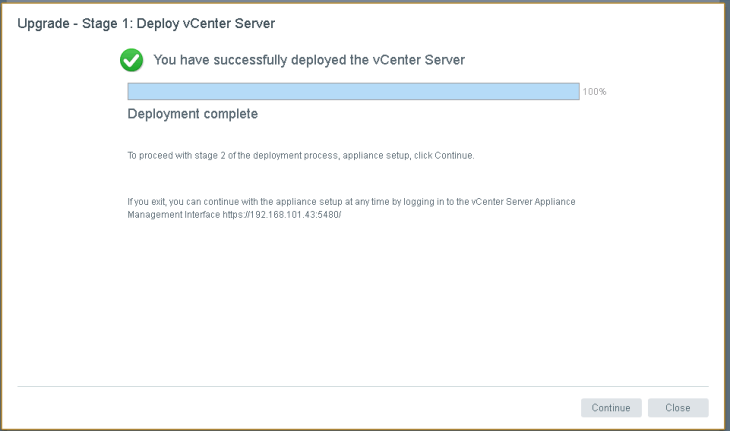
Phase 1 Complete
Stage 2
1 Introduction. You have successfully completed Phase 1 and your new VCSA is deployed albeit with a temp IP address Click Next.

2 Connect to Source. System Settings are validated. Any Issue will be flagged. Click Next
3 Select upgrade Data. I selected Configuration, event, tasks and performance metrics. Click Next.

4 Ready to Complete. Review your setting. Make sure you have backup your PSC and data and tick the required checkbox and Click Next.
VCSA Upgrade Completion.
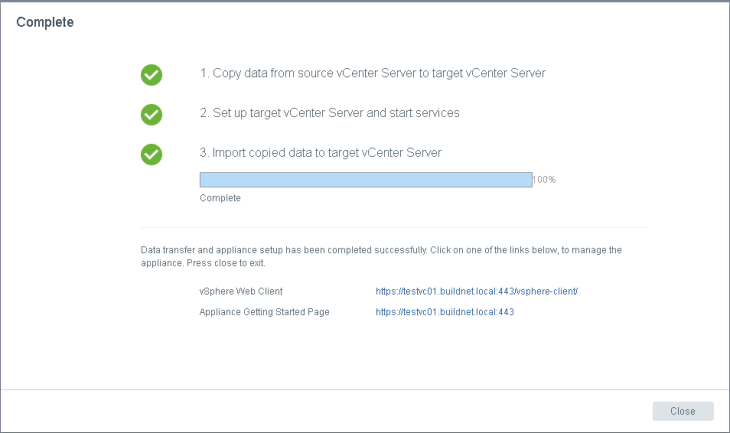
Once again I reviewed he health of the upgrade/migrate nodes in the new web client.

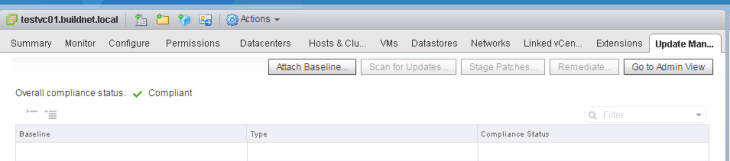
One thing I did notice once I logged into the web client was the automatic inclusion of the update manager. Maybe ill use this tomorrow to upgrade a few hosts